
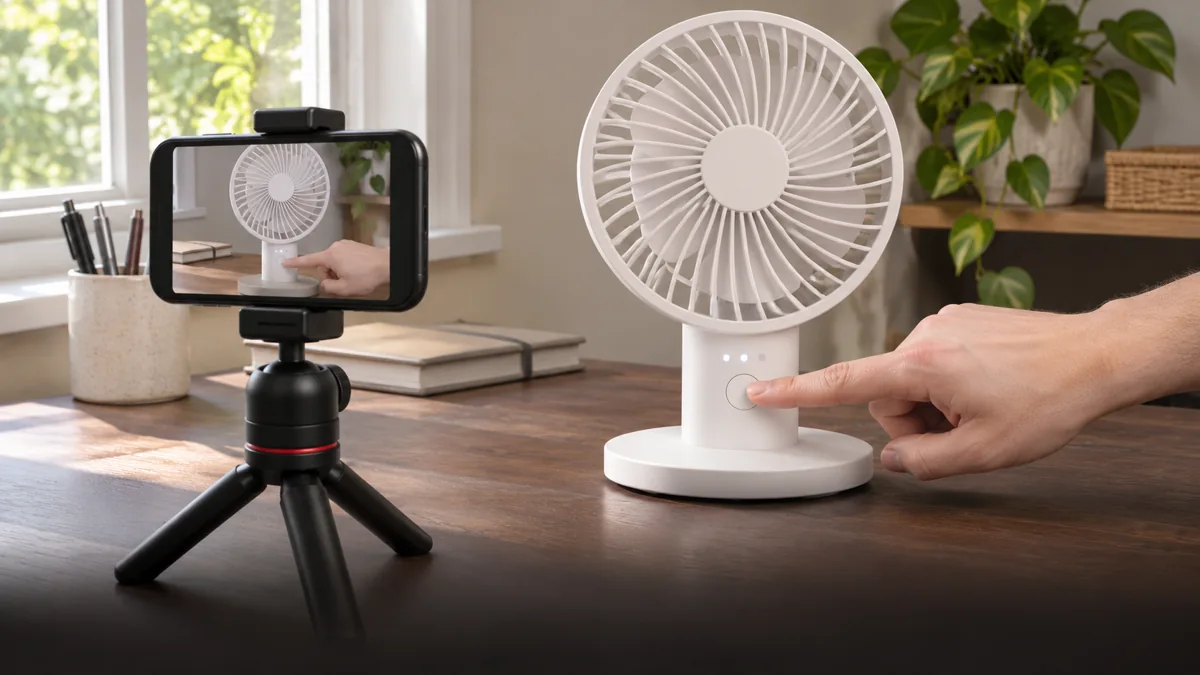

By Zeeshan · Last updated November 11, 2026
Direct answer: Film a control change as a visible sequence: establish the starting state, show the exact press or turn, then hold the result long enough to understand it. Keep your hand clear of the indicator. Explain repeated takes and any cut that removes part of the change; do not infer a mode from an unlabeled light.
A close-up of a finger pressing a button can still leave the shopper with the same question: what changed? The hand may cover the indicator, the camera may cut away before the response, or the demonstration may begin halfway through a mode cycle. Plan the shot around the change the buyer wants to understand.
For help planning the broader creator workflow, explore the current ACE training page. This guide focuses on making one control sequence understandable.
Table of Contents
Which control question should you answer?
Choose a question that involves an observable action: how to change brightness, return to the starting mode or reach the control when the item is in its normal position. A tour of every button can be less useful than one complete sequence.
Identify the actual model and check its instructions before assigning meanings to buttons, colors or sounds. The illustrated fans in this article are generic examples, not a manual for a specific product. For a broader way to narrow the topic, use our short-review product guide.
How do you establish the starting state?
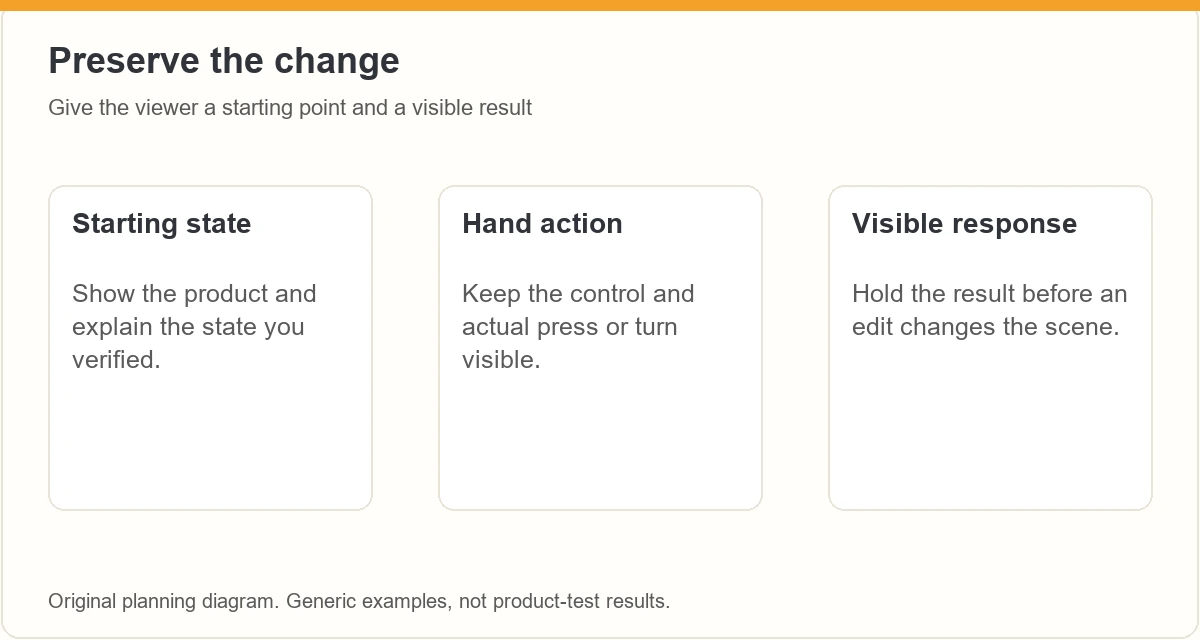
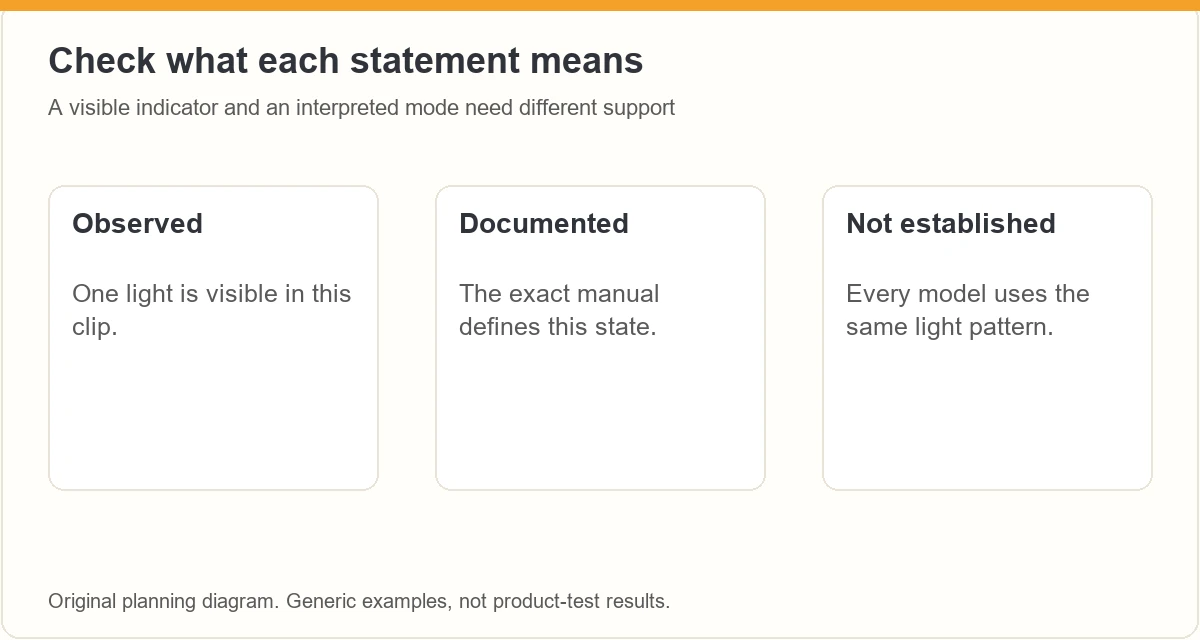
Show the whole item at rest, then name the state you have verified. If the manual calls it low mode, explain how you know. If you can only see one light, describe the visible light instead of guessing that it means low power.
- Record the control before your hand enters.
- Identify whether you reset or prepared the item before the take.
- Keep the visible output or indicator in frame.
- Use the normal operating position described by the product instructions.
A mode sequence begins with context. Without it, a viewer cannot distinguish switching on from moving to the next setting.
Where should the camera and your hand go?
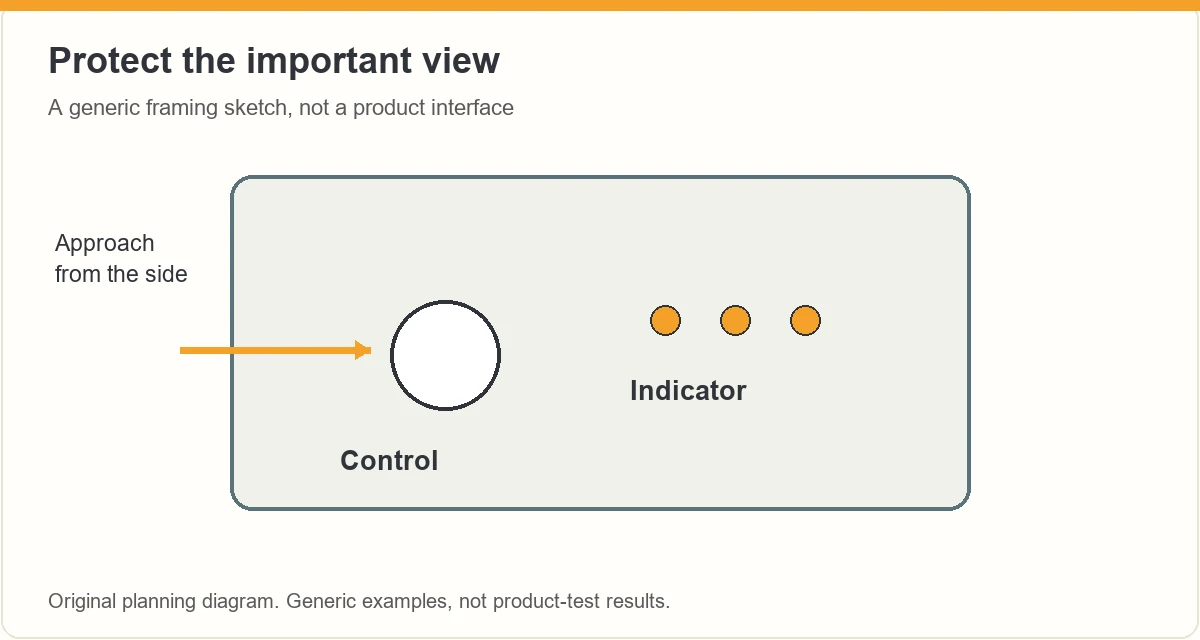
Choose an angle that includes both the control and the useful response. Approach from the side that leaves labels and lights visible. If the control is behind the product, show its position in a wider shot before moving closer.
| Buyer question | Useful framing | Detail to preserve |
|---|---|---|
| Where is the control? | Whole product and hand approach | Position in ordinary use |
| What action is needed? | Button or dial and fingertip | Press, turn or permitted hold |
| What changed? | Control plus output or indicator | The state immediately afterward |
Reposition the camera rather than operating awkwardly for the shot. Use the reflective-product filming guide if glare hides a small label or light.
Which parts should stay in one take?
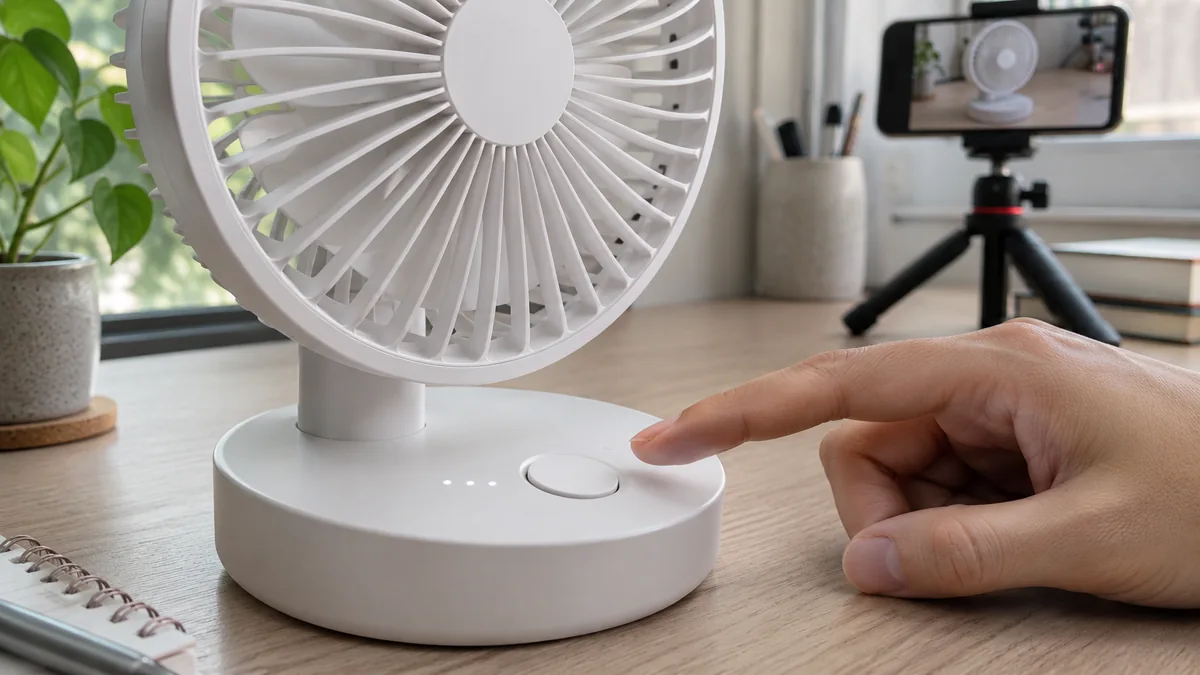
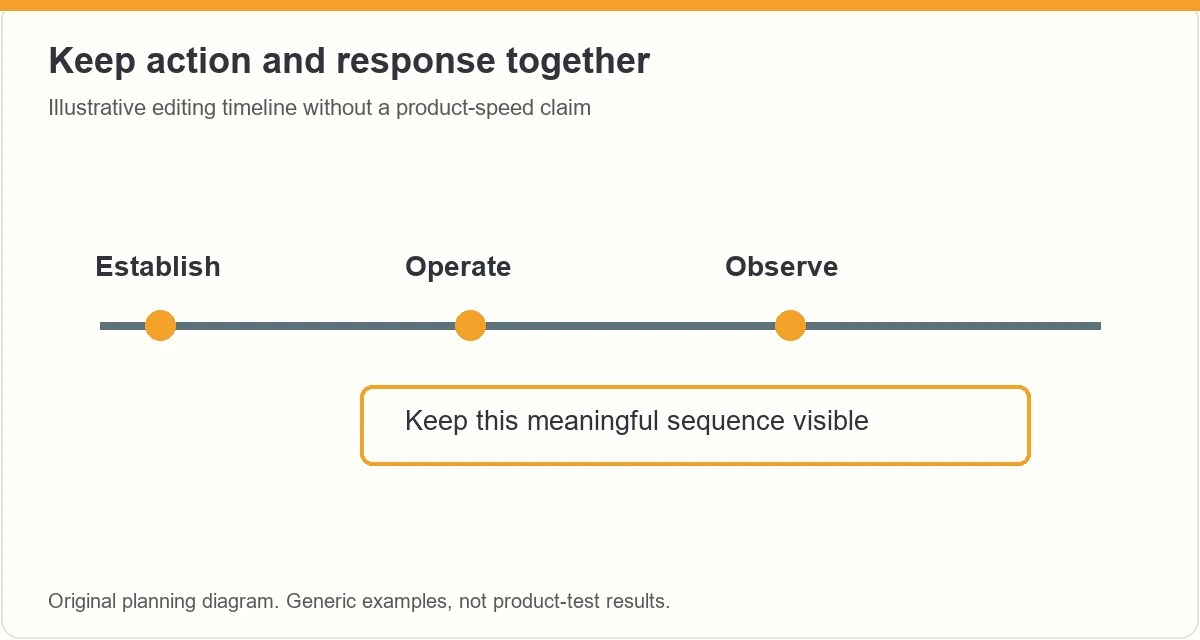
Keep the action and its immediate response together. A cut from a finger approaching the button to a different setting can hide an extra press, an unexpected reset or a delayed response. You can still trim the approach and uneventful footage around the meaningful sequence.
For a hypothetical lamp demonstration, the viewer might need to see the initial brightness, one press and the new brightness. That is a proposed shot sequence, not a result from a lamp we tested. A separate detail take is useful when it is clearly identified as a repeat.
How should you describe the change?
Say what your hand did and what you observed. A useful sentence template is: “From this starting state, I pressed this button once, and this visible setting changed.” Fill it with your actual observation. Do not claim a universal button cycle from one model or edited take.
The W3C guidance on describing visual information supports putting essential visible information into the spoken explanation. Name the changed state rather than relying on a vague “there it is.” Match any on-screen label to the actual state, and use our caption guide when editing the words.
What should you avoid claiming from the clip?
A responsive button does not establish long-term durability, accuracy or suitability for every user. A changed fan setting does not by itself measure airflow. Keep a manufacturer specification separate from your own observation and retain its conditions.
Amazon recommends a planned demonstration that shows a product in use in its seller product-video guide. That is useful production guidance, not evidence that a particular creator upload will be accepted or receive placement.
What belongs in the final playback check?
- The starting state is understandable before the action.
- The relevant control remains visible when touched.
- The response appears before an edit changes the scene.
- Words and captions describe the state actually shown.
- Any reset, repeat or omitted waiting period is explained.
Watch at normal phone size. If the indicator is too small to interpret, add a useful close view while retaining enough context to identify it. A polished transition cannot replace a missing response.
Frequently asked questions
Do I need to demonstrate every mode?
Choose the modes needed to answer the shopper question. Identify anything you did not show and avoid presenting a partial sequence as the complete operating method.
Can I repeat the action for a closer shot?
Yes. A repeat can explain the control clearly. Identify it when the repetition matters, and keep any timing or first-attempt claim tied to its actual recording.
Does one light always mean the lowest setting?
No. Check the exact product instructions. If the meaning is not verified, describe the visible indicator without assigning it a mode, charge level or performance value.
What if my hand covers the indicator?
Change the angle or approach after checking the framing. Keep the control usable normally; do not force an awkward action simply to keep the camera in place.
What should you do next?
Choose one control question, establish the starting state and preserve the moment the result becomes visible. A small complete sequence is more useful than a fast tour that leaves the change unexplained.
ACE from Zonbase is an Amazon product research agent for creators. It shows which products have real demand and few existing videos, then helps you plan what to film and say. Start the free ACE training to plan your next review video.
For more on this, see record product noise and film product assembly.
Plan the action before the edit
Use ACE training as a starting point for planning a useful creator demonstration, then build the actual video around the product you have.
ACE is separate from Amazon. Training does not guarantee Amazon acceptance, placement or earnings. Check the current page for availability and offer details.
